Showing posts with label food. Show all posts

Sunday, 13 September 2015

Colourful Capsicums

Capsicums and more capsicums! I think this was the first time I bought so many capsicums at one time. All because my son loves them and the department store was offering five different colours. How could I not get them all? So, I ended up buying ten capsicums, two of each colours. 

Of course, JS was thrilled to see so many colourful capsicums and started taking them out from the plastic bags. Besides admiring the vibrant colours, we did some counting with them. 


Then, we cooked them! Or rather, JS, had his first experience cooking capsicum on his own. We (my hubby and I) do not really like the way capsicum is being cooked in Chinese dishes, especially when added in mixed vegetables. It was not something my husband would happily eat until I accidentally discovered the super simple  yet delicious way of preparing this very nutritious vegetable. 

One day, some years ago, I was pan frying salmon and after that, I did not want to waste all the "good" oil that remained in the pan after frying the fish so I just used it to stir fry some capsicums. Surprisingly, it turned out really good and sweet. 

We did not have pan fried salmon on that day when I bought the capsicums but of course, we could still have stir fry capsicums. It is JS' favourite so he happily learnt how to prepare it. 

I helped him to half the capsicums so he could remove the seeds (which he gathered in a small container because we wanted to try planting it in our garden). 


Next, he cut them lengthwise and sprinkled some salt. 


Then, I helped him to pour some cooking oil into the wok and he could do the rest. When the oil was heated, he put in the strips of colourful vegetables and stir fry them on medium to high fire. 


The dish doesn't look very good here, due to poor photography skill. It's taken using my iPhone and the lighting was poor too because we use amber lights at home. Nevertheless, JS was very satisfied with his cooking that he almost ate everything up! 


Wednesday, 1 April 2015

Fun with Food Sensory Bottles


I was doing some "spring cleaning" last week when I found these breastmilk storage containers given to my by my sister-in-law soon after I delivered JS about five years ago. I have stopped breast feeding for more than a year now and these containers have been in the storage drawer since then. I thought they would make good storage for spices but as soon as I took them downstairs JS saw them and asked me what I wanted to do with the containers. Hmmm... no harm letting the children play with the containers first, I thought and so they became food sensory bottles.


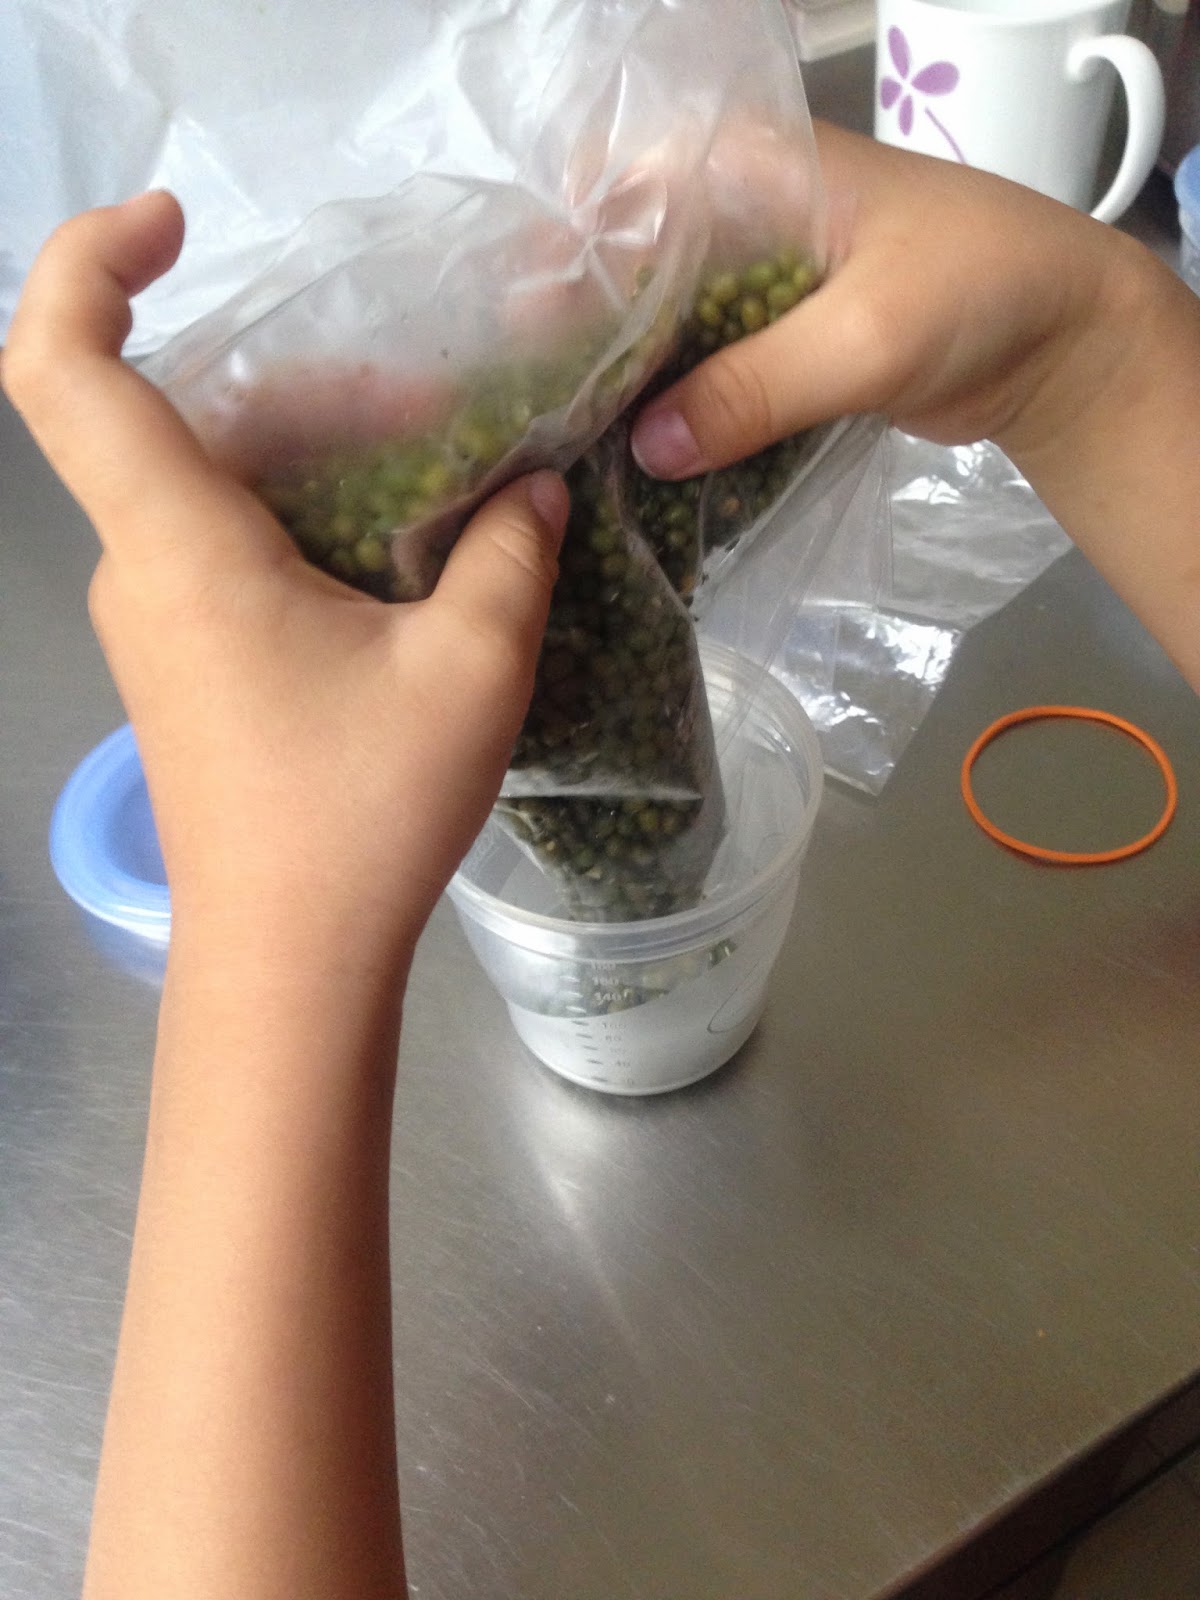
The first item that came to mind was adzuki beans but as we entered the kitchen, my phone rang so I told JS to put in some garlic cloves instead (the first food I saw in the kitchen) as I answered the phone. He happily filled two containers with garlic cloves and also put an onion each in two other containers. Then I took adzuki beans, mongo seeds and black beans from the fridge and he filled the rest of the containers with them. 


Here are some of the activities we did with the food sensory bottles. 

1. Identifying the items in the bottles. Since JE is still very young and tend to put things in her mouth, the best way to expose her to tiny objects is through sensory bottles. She gets to look at them, shake and hear the sounds they make and learn the names of these common foods. 


2. Arranging them in different shapes. 


3. Learning the meaning of "same" and "different". Surprisingly and sadly, I have to admit that JS still does not know the meaning of these two and I have to find different ways to teach him and hopefully this could help. 


4. The last game we played was the guessing game. I did not get to take any pictures for this since I played an active part in this game. I would hold one of the bottle behind me and shake it. JS would have to guess the item in it. 


Friday, 4 April 2014

Cooking Up A Storm (Part 4)

On the last day of the Food Theme, I could not decide between making a hamburger and a plate of spaghetti so I let JS decide. He never liked eating a hamburger anyway so it made perfect sense that he chose the latter. 
I tried to make this last food item making as interesting as possible so I thought it would be great if he could actually "cook" the pasta. 

First, we prepared the "spaghetti". He had to measure the strings so that each string of spaghetti is of the same length. 

JS measuring the string for the noodles. 

Next, he placed all the "spaghetti" on a plate. We did some counting here as I told him to count them while placing them on the plate.

JS counting the noodles.
The next step was to make the "tomato sauce". We mixed some poster colours with water before pouring the "sauce" onto the pasta.

JS pouring the "tomato sauce" onto the "spaghetti".

Next comes the fun part of tossing the "spaghetti".

JS enjoying himself tossing the "spaghetti".

In order to hold the noodles together, we added lots of glue before tossing the "spaghetti" again. 

JS adding lots of glue on the "spaghetti".

Next, we added some mushrooms. He actually cut all five of them on his own! He was very pleased with himself as it was the first time where he managed to cut curvy lines without cutting through the picture. He he was not cutting on a paper. It was a foam sheet.

We transferred the noodles onto a clean paper plate with lots of glue on it so that it would stick on the plate.

JS adding some mushrooms.

Any tomato sauce spaghetti would not be complete without some cheese so JS added some on his too!

JS adding some "grated cheese" made from tiny stripes of yellow foam sheets.
I hope you like this make too because this is, by far, JS' favourite make. 

Wednesday, 2 April 2014

Cooking Up A Storm (Part 3)

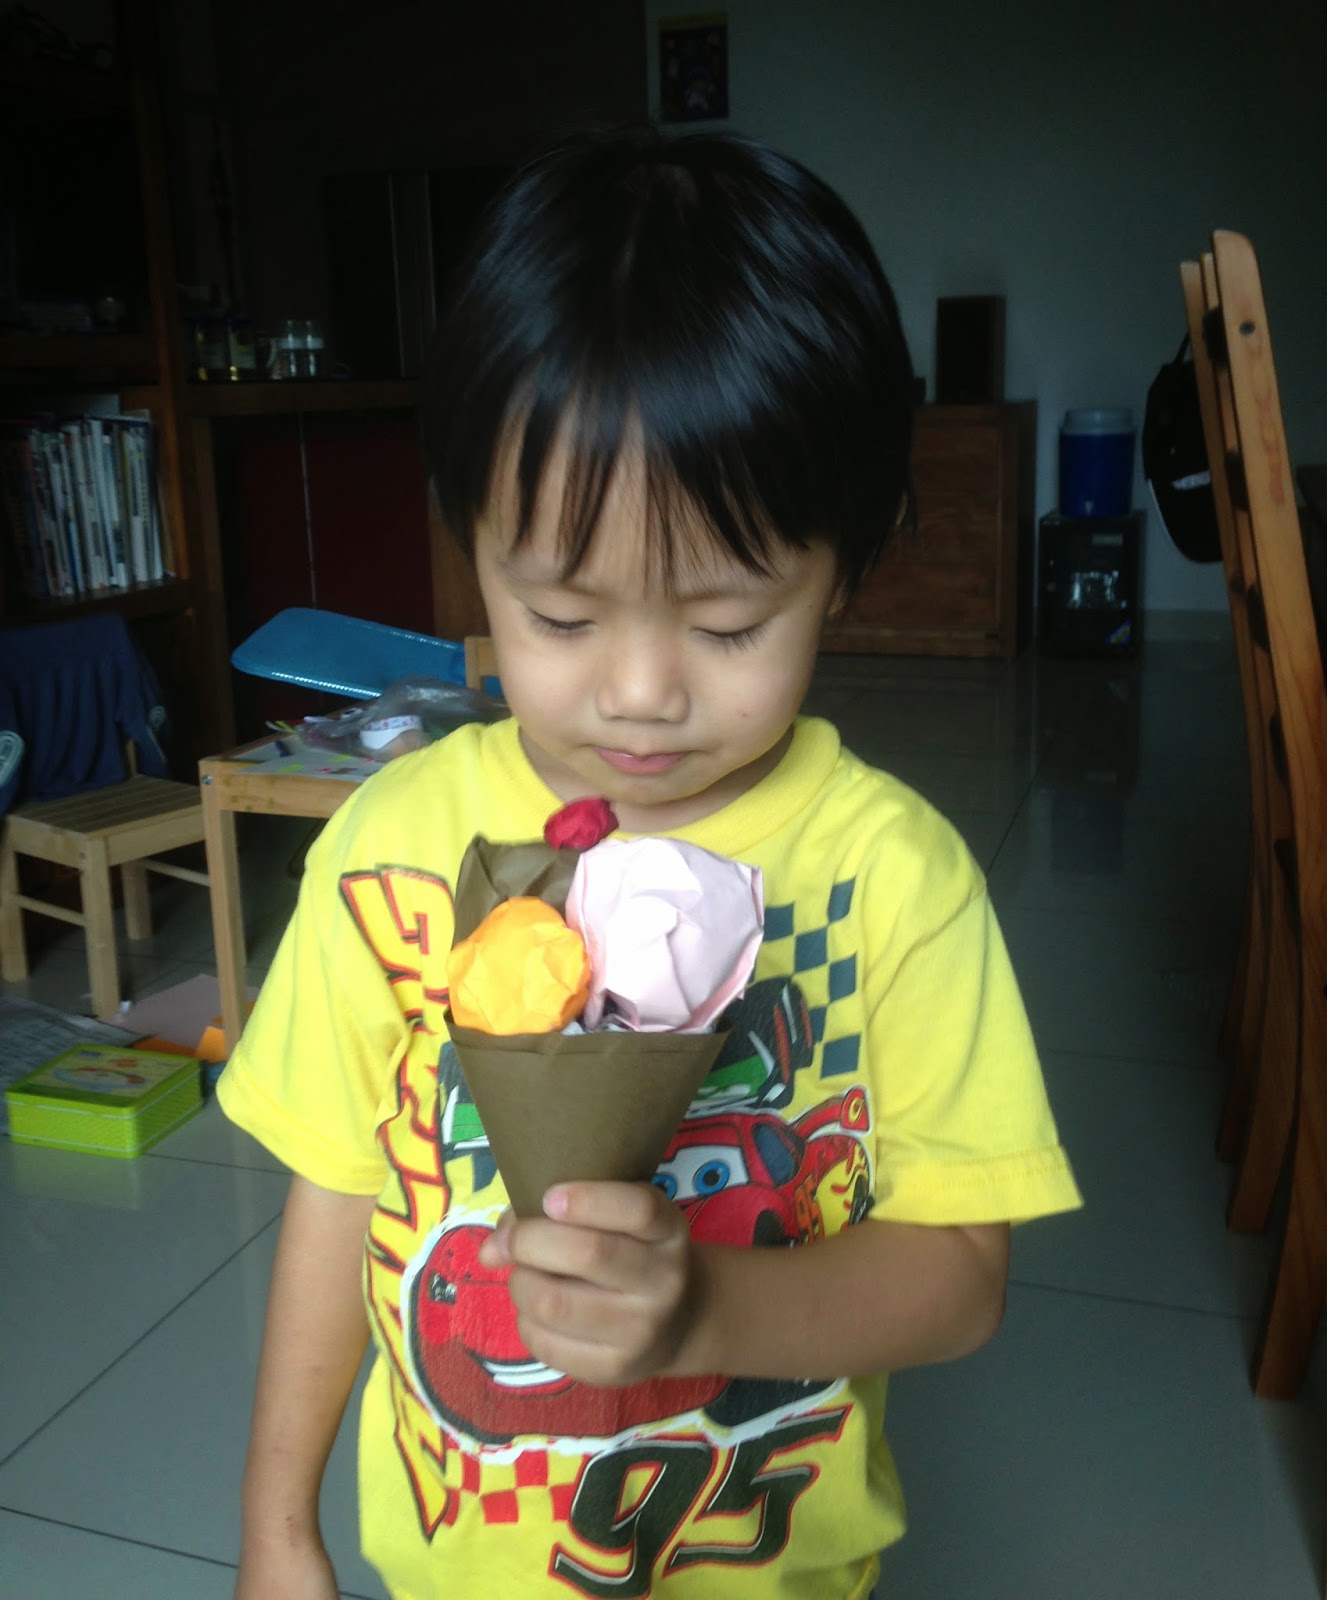
We made a simple ice cream on the third day of our Food Theme. 

We started off by drawing a circle on a brown coloured paper for the ice cream cone. 


JS drawing a circle for the ice cream cone.
Next, we used crumpled newspapers to make little balls for the ice creams. Then we wrapped them with different coloured papers for a variety of flavours.


JS wrapping the crumpled newspaper with a yellow coloured paper.
Lastly, we arranged the scoops of ice creams on the cone. 

JS arranging the scoops of ice creams.

"How I wish this is a real ice cream!"

On the following day, we made a packet of apple juice. 

First, we made the packet using the origami method of making a paper bag.

JS making the paper bag.

As JS was not confident enough to cut curvy lines (for the apples) yet, I took over the job while he drew lines on a yellow coloured paper. He needed to practice drawing straight lines with a ruler anyway, so I was happy to let him do it. Later, he used the stripes of papers to decorate the straw. 


JS practicing drawing lines with a ruler.
After that  he had to stick on the leaves and the stems on the apples. 

JS sticking a leave on one of the apples.

Then he added some details on the apples with a black marker.


JS adding details on one of the apples.

Next, to make the straw look more interesting, we put some double sided tapes on it and JS had to roll the stripes of papers around it. 


JS rolling a strip of paper around the straw. 
Then he inserted the straw into a hole which I had made earlier on the packet. Before he sealed the packet, we added some crumpled newspapers into the packet. 


JS sealing the packet of apple juice.

JS enjoying his packet of apple juice. 

Cooking Up A Storm (Part 2)

Our second food project was to make pizza, one of JS' favourite food.  It was a two session project as the crust took us quiet a long time to finish. 

First, we drew a circle on a piece of cardboard. This is to be the base of the crust. Then we thickened the crust using 40 sheets of newspapers. I was not able to take any pictures for this as JS needed a lot of help with it. 

JS drawing the circle for the crust.
After we were done with the crust, we rolled some papers for the side crust. 

JS rolling a white paper for the side crust.

Next we cut out some triangles to put on the pizza to make it look like it was cut into six pieces. We also wrapped the side crust with some brown coloured paper.

JS tracing a triangle.

Next we made some mushrooms and capsicums for the toppings.

JS drawing mushrooms with the help of a stencil. 

JS cutting out stripes of capsicum. He could only cut straight lines and found cutting curvy lines very difficult. He gave up after cutting five capsicums. 

This was the best part of the entire session. JS enjoyed himself putting on the vegetables. I think it took him about 10 to 15 minutes to do it as he spent so much time telling me where the mushrooms should be placed. 

JS adding the toppings to his pizza.

Sunday, 30 March 2014

Cooking Up A Storm (Part1)

I actually planned to go for the sewing theme last week and bought some embroidery threads for JS to sew a cake on a foam sheet. I also bought a complete set of sewing craft for him to make a piece of strawberry cake. However, both projects failed as  he refused to sew on the foam sheet because the plastic needle was too thick for the holes I made (my fault, really). As for the strawberry cake, it was simply too complicated for him (my fault too because I did not check the contents first before the session). After two failed attempts (which I shall discuss in a different post on failed projects), JS still wanted to make a cake so this was what we did. 

We went around the house looking for suitable materials and we found a plastic cylinder the size of a small cake. Wonderful! Since JS wanted so much to make one, he shall have it. 

First, we put some crumpled newspaper into the container. This is to hold the candle. 


To make the candle, we used two long straws. We cut them in halves and glued all four together to make a thick candle. Then we rolled them with a colour paper. 

JS cutting the straw. He finds it rather tough but managed to cut both after trying for a few minutes.
This is how the candle looks like. The white paper is for the icing on the cake.


Next, we made the icing around the cake using some patterned colour paper.

JS cutting the paper for the icing around the cake.

After putting on the icing, we stuck the cake on a different colour paper for the cardboard under it. Then we rolled and squeeze some white paper for the icing around the cake. 


Lastly, we crumple some red papers into mini balls to make cherries for the toppings. We also added some round felt stickers for coloured sugar pieces around the cake. 


Wednesday, 4 December 2013

Lets Make Pancake!


My son loves to eat pancake, especially when I let him eat it with honey. We usually make it for breakfast but today, we did it for tea time.

He thinks that it's easy to do it by himself and today, I let him do most of the work. Since the stove at our house is too high for him to reach, I did not let him pour the batter in the pan nor flip the pancakes. After all, I think it is not the time yet for him to do the cooking on the stove as he is still too young to handle that. 

I obtained the recipe for this pancake from Nami of Just One Cookbook http://justonecookbook.com/blog/recipes/dorayaki-japanese-red-bean-pancake/. It's actually a recipe for Dorayaki but we eat it as a pancake. I also modified the recipe a bit to make it less sweet so that JS can add honey on it as he eats. So, I did not add honey and also, I added only two tablespoons of sugar. I usually halved the ingredients as it's only for both of us. 

Here are some of the pictures of JS making the pancakes.


JS whisking the egg and sugar
JS measuring the flour to be used for his pancake

JS with the pancakes he made.